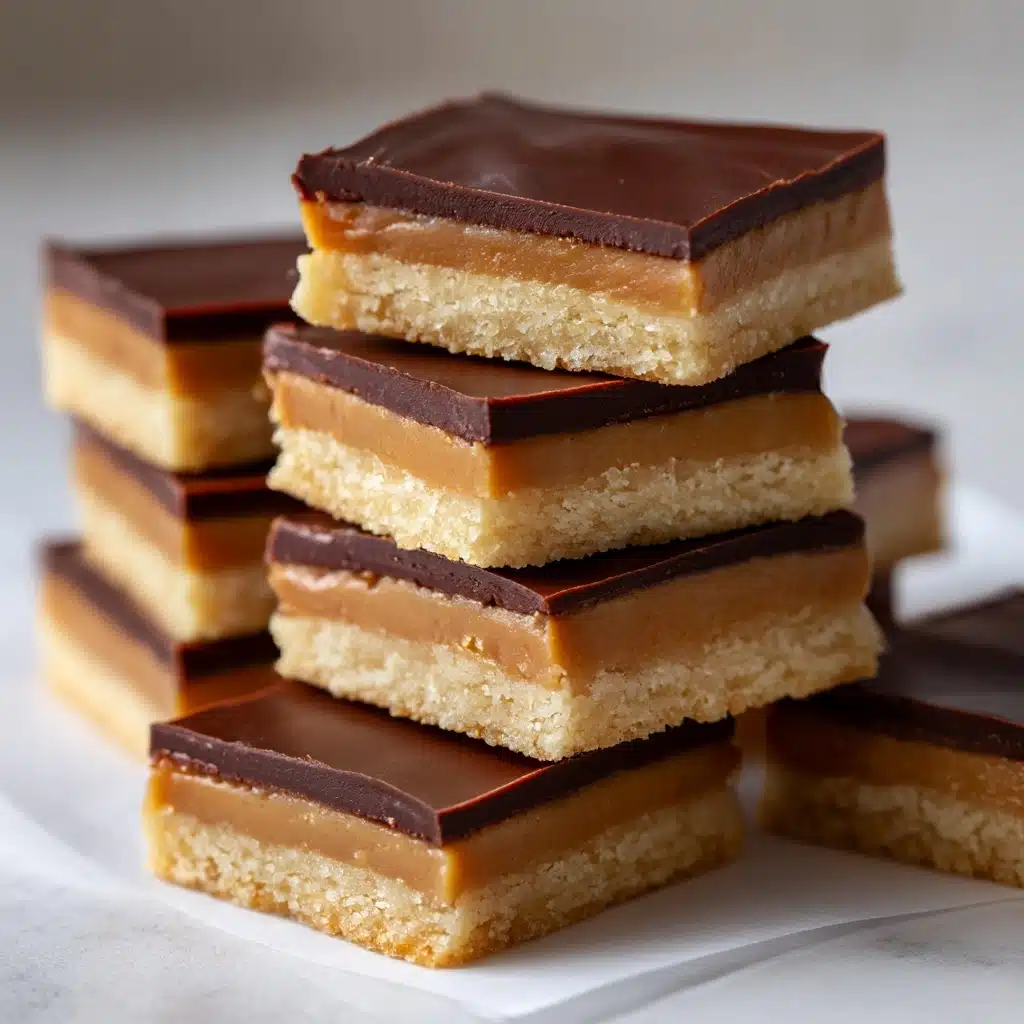
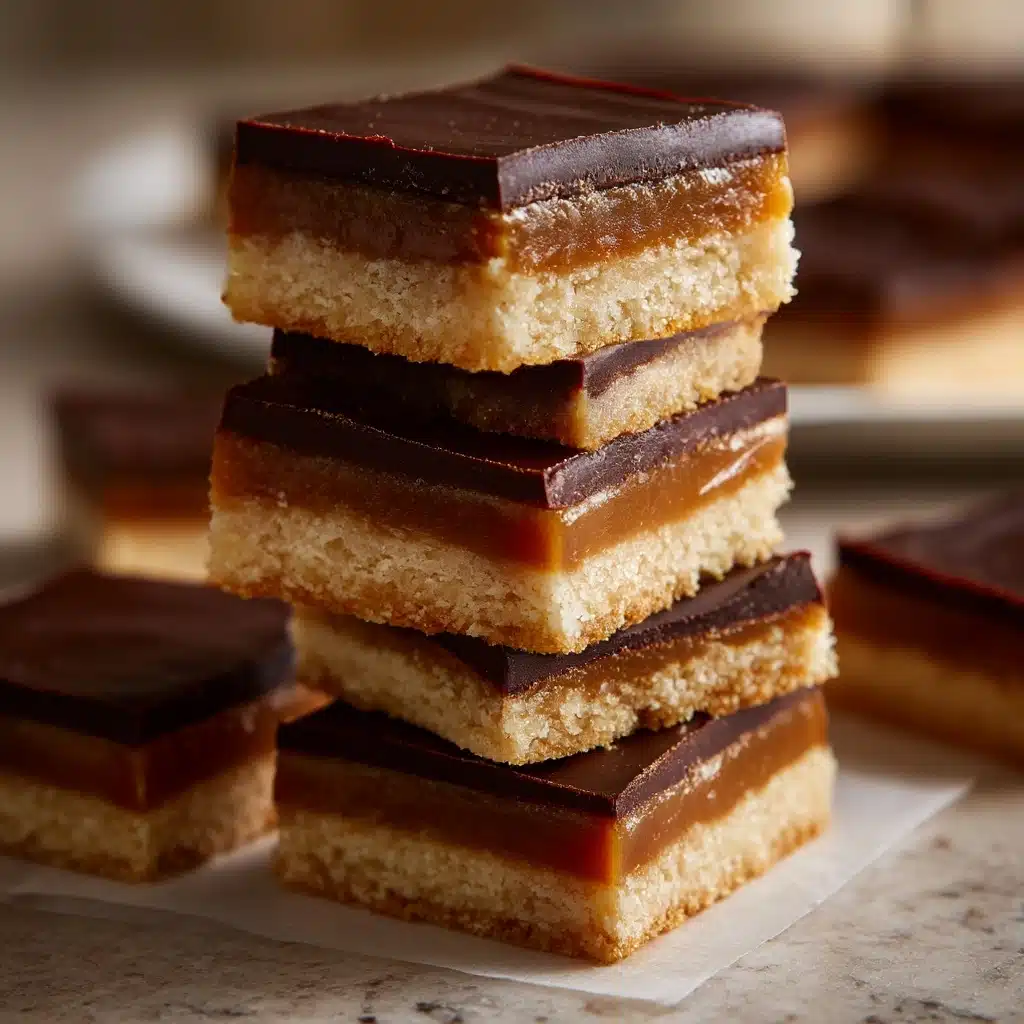
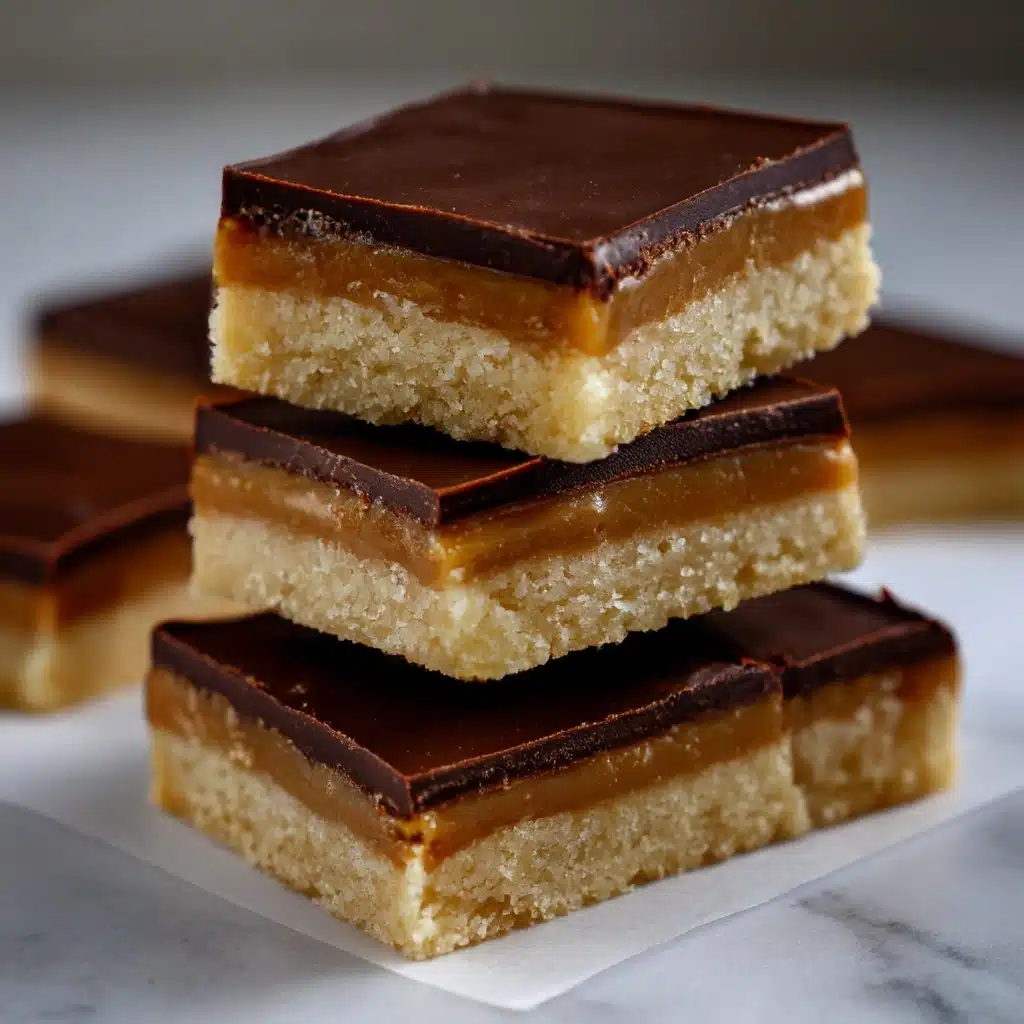
If you’re a fan of dreamy, indulgent treats with layers of contrasting textures and rich flavors, you’re in for a real treat with Caramel Slice. This classic Australian dessert is a show-stopping combo of a buttery coconut shortbread base, an ultra-smooth caramel filling that’s genuinely velvety, and a cracking chocolate top. Caramel Slice hits every blissful note, balancing sweetness, crunch, and melt-in-your-mouth creaminess. It’s the kind of dessert that disappears mysteriously fast at any holiday table or bake sale, and it’s every bit as fun to make as it is to eat!
Ingredients You’ll Need
Caramel Slice is made with just a handful of ingredients, but each one brings something magical to the party – whether it’s flavor, texture, or that perfect color contrast you notice in every bite. Grab your apron and take a peek at how these staples work together for pure dessert perfection!
- All-purpose flour: Serves as the sturdy foundation for the base, giving you that shortbread crunch and just the right bite.
- Desiccated coconut: Adds a touch of chew and a subtle nutty flavor, enhancing both taste and texture.
- Brown sugar: Infuses the base with a caramel-like richness and a soft, golden hue.
- Unsalted butter (melted): Binds the base and caramel together, making every layer lush and decadent.
- Sweetened condensed milk: The heart of the caramel filling, creating that classic creamy, sweet gooeyness you crave.
- Golden syrup (or light corn syrup): Gives the caramel its signature depth and glossy finish – golden syrup is the traditional Aussie choice, but corn syrup works in a pinch.
- Semisweet chocolate (chopped): Melts into a glossy, snappy topping that perfectly tops off the caramel flavor.
- Vegetable oil or butter (for the topping): Ensures the chocolate sets with a beautiful sheen and is easy to slice.
How to Make Caramel Slice
Step 1: Prepare Your Baking Pan and Oven
Begin by setting your oven to 350°F (175°C), and make sure it’s properly preheated – this ensures the base gets off to a golden start. Meanwhile, line an 8×8 inch or 9×9 inch square baking pan with parchment paper, leaving some overhang for easy lifting later. Trust me, this step makes slicing and cleanup a breeze!
Step 2: Mix and Bake the Base
In a large mixing bowl, combine the all-purpose flour, desiccated coconut, and brown sugar. Pour in the melted butter and mix until everything comes together into a crumbly, slightly damp dough. Tip this mixture into your prepared pan, and press it firmly and evenly with the back of a spoon or your hands – a solid, even base means a sturdy slice. Bake for 12–15 minutes or until it’s beautifully golden on the edges. Your kitchen will already start to smell amazing!
Step 3: Make the Caramel Filling
While the base is baking, it’s time for the star of your Caramel Slice. In a medium saucepan, combine the sweetened condensed milk, golden syrup, and unsalted butter over medium heat. Stir constantly (seriously, don’t stop – this is how you avoid lumps or burnt bits!) for about 8–10 minutes, until the caramel thickens, deepens in color, and starts to pull away from the sides of the pan. This filling is golden, silky, and irresistible.
Step 4: Bake the Caramel Layer
Pour the hot caramel over the freshly baked base, spreading it gently and evenly to every corner. Pop the pan back in the oven for another 10–12 minutes. This second bake helps the caramel set firm enough to hold its shape when sliced, yet remain beautifully soft and luscious in the middle.
Step 5: Cool Completely
Let your Caramel Slice cool completely in the pan before adding the chocolate topping. This cooldown is the secret to creating those perfectly defined layers (and prevents the chocolate from melting into the caramel). If you’re short on time, slide the pan into the fridge to speed up the process!
Step 6: Make and Add the Chocolate Topping
In a heatproof bowl, melt the chopped semisweet chocolate with the vegetable oil (or butter) either over a pot of simmering water or using short microwaves bursts, stirring until smooth and silky. Pour this glossy mixture over the cooled caramel and gently tilt your pan so the chocolate covers the entire surface evenly. Back into the fridge it goes for at least 2 hours – patience is a virtue here, and the chocolate will set to that signature snap.
Step 7: Slice and Serve
Once the chocolate is set firm, lift the Caramel Slice out of the pan using the parchment handles. For neat squares, warm a sharp knife under hot water and dry it before each cut. This way, every slice comes out with crisp, clean layers and that irresistible three-tiered look.
How to Serve Caramel Slice

Garnishes
To dress up your Caramel Slice, add a light sprinkle of flaky sea salt over the chocolate before it sets, or dust with a touch of cocoa powder for a delightfully fancy finish. For something special, a few shards of honeycomb or chopped toasted nuts scattered on top always impress and add extra crunch.
Side Dishes
Pair your Caramel Slice with a scoop of vanilla ice cream or a dollop of whipped cream to create a stunning plated dessert. If you prefer something lighter, slices of fresh strawberries or raspberries offer a tart contrast that cuts through the richness perfectly.
Creative Ways to Present
Caramel Slice looks lovely just as is, but you can try serving them stacked in a rustic tower on a wooden board, or individually wrapped in parchment for gifting. At parties, cut petite bite-sized squares and arrange them alongside other desserts for a tempting treat platter.
Make Ahead and Storage
Storing Leftovers
Keep any leftover Caramel Slice in an airtight container in your fridge. The cool temperature keeps the caramel perfectly set and the chocolate glossy. They’ll stay fresh and delicious for up to a week – if they last that long!
Freezing
For longer storage, Caramel Slice freezes beautifully. Cut into squares, separate layers with parchment paper, and seal them tightly in a freezer-safe container. Thaw overnight in the fridge for treats on demand anytime.
Reheating
Caramel Slice is usually best enjoyed chilled or at room temperature, but if you love a softer bite, let a slice sit out for 5–10 minutes. Avoid microwaving, which could melt the chocolate and make the layers run together.
FAQs
Can I use milk chocolate instead of semisweet for the topping?
Absolutely! Milk chocolate will give you a sweeter, creamier finish. Just keep in mind that semisweet chocolate gives the best contrast with the caramel, but it’s all up to your personal preference.
How do I prevent the chocolate from cracking when slicing?
Use a sharp knife warmed under hot water and wiped dry for each cut. The gentle heat helps prevent the chocolate layer from cracking, giving you picture-perfect squares every time.
Is it possible to make Caramel Slice gluten-free?
Yes, you can easily substitute the all-purpose flour in the base with your favorite gluten-free flour blend. Make sure it’s a 1:1 substitute to keep the consistency just right.
Can I make Caramel Slice without coconut?
Totally! If you’re not a coconut fan or have allergies, simply swap it for extra flour or use finely chopped nuts for a different texture and flavor twist.
How do I get clean layers in my Caramel Slice?
Allow each layer to cool and set fully before adding the next one. Chilling the slice thoroughly before cutting also helps achieve those beautifully defined layers everyone loves.
Final Thoughts
Homemade Caramel Slice is a true star that always brings smiles and second helpings. It’s part nostalgic treat, part gourmet dessert, and all-around irresistible. Give this recipe a try and watch it disappear in record time – you might just find a new favorite to share with loved ones!
Print
Caramel Slice Recipe
- Prep Time: 20 minutes
- Cook Time: 30 minutes
- Total Time: 2 hours 50 minutes (including cooling)
- Yield: 16 squares
- Category: Dessert
- Method: Baking
- Cuisine: Australian
- Diet: Vegetarian
Description
Indulge in the decadent layers of buttery base, sweet caramel, and rich chocolate in this classic Caramel Slice recipe. Perfect for satisfying your sweet tooth cravings!
Ingredients
For the base:
- 1 cup all-purpose flour
- ½ cup desiccated coconut
- ½ cup brown sugar
- ½ cup unsalted butter, melted
For the caramel filling:
- 1 (14 oz) can sweetened condensed milk
- ⅓ cup golden syrup (or light corn syrup)
- ½ cup unsalted butter
For the chocolate topping:
- 7 oz (200g) semisweet chocolate, chopped
- 1 tablespoon vegetable oil or butter
Instructions
- Preheat oven and prepare base: Preheat oven to 350°F (175°C) and line a baking pan. Mix base ingredients, press into pan, and bake.
- Make the caramel: Combine caramel ingredients, cook until thick, pour over base, and bake again.
- Add chocolate topping: Melt chocolate and oil, pour over cooled caramel, and refrigerate until set.
- Slice and serve: Once firm, cut into squares and enjoy!
Notes
- Store in the fridge for up to 1 week.
- For a salted caramel version, add a pinch of sea salt to the caramel before baking.


